Once you grasp the basic principles behind the operation of outdoor misting fans, you may wonder if it’s possible to construct one yourself. While building a misting fan from scratch is feasible for those with some technical skills and knowledge, it requires careful planning, appropriate materials, and attention to safety considerations.
Basic Components of a Misting Fan:
Before attempting to build a misting fan, it’s essential to understand its key components and how they work together:
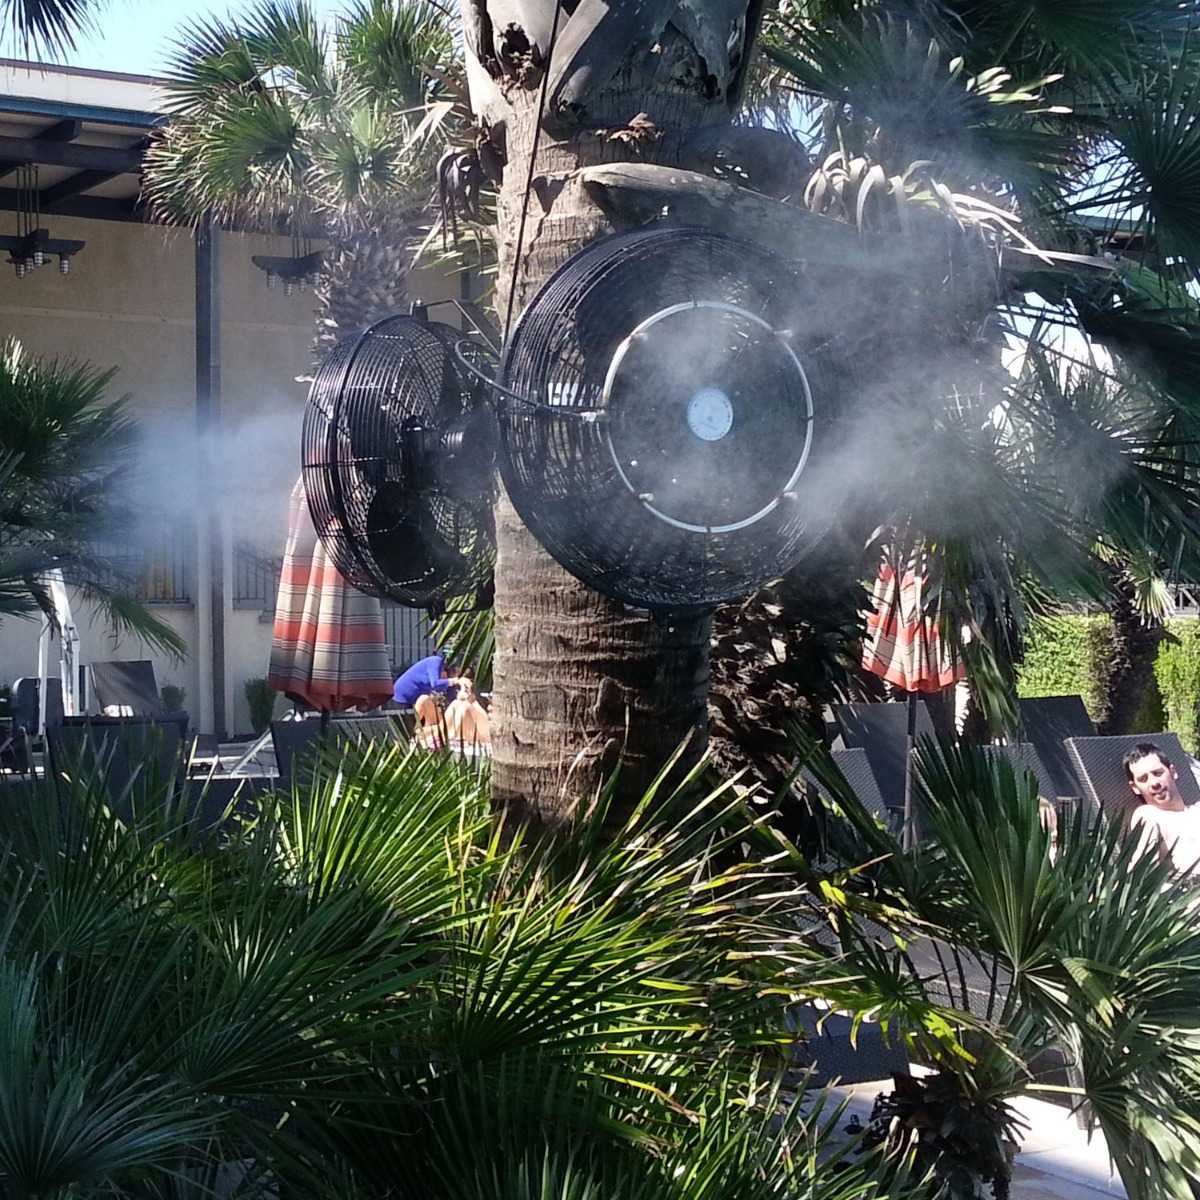
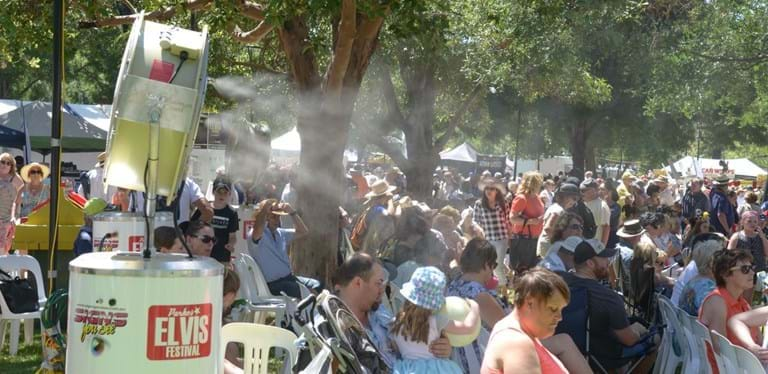
- Fan: The fan is responsible for creating airflow, which distributes the mist evenly over the desired area.
- Misting Nozzles: These specialized nozzles atomize water into fine droplets, creating a mist when combined with airflow from the fan.
- Water Pump: The water pump pressurizes water from a reservoir or water supply line, allowing it to flow through the misting nozzles.
- Tubing and Fittings: Tubing connects the water pump to the misting nozzles, while fittings ensure a secure and leak-free connection.
- Power Source: A power source, such as electricity or batteries, is needed to operate the fan and water pump.
Steps to Build a DIY Misting Fan:
Building a DIY misting fan involves several steps, including:
- Design and Planning: Determine the size, design, and placement of your misting fan. Consider factors such as the size of the area to be cooled, available power source, and mounting options.
- Gather Materials: Acquire the necessary components, including a fan, misting nozzles, water pump, tubing, fittings, and a power source. Ensure that all components are compatible and suitable for outdoor use.
- Assembly: Install the misting nozzles onto the fan’s guard or blades, ensuring they are evenly spaced for uniform mist distribution. Connect the tubing to the nozzles and water pump, securing them with fittings as needed.
- Mounting: Mount the fan in the desired location, ensuring it is stable and securely positioned. Consider factors such as height, angle, and proximity to power and water sources.
- Testing and Adjustment: Test the misting fan to ensure proper operation. Adjust the fan speed, misting intensity, and nozzle direction as needed to achieve the desired cooling effect.
- Safety Considerations: Ensure that the misting fan is installed and operated safely, following all manufacturer’s instructions and local regulations. Use weatherproof materials and components rated for outdoor use to prevent damage and ensure longevity.
Potential Challenges and Considerations:
While building a DIY misting fan can be a rewarding project, it also comes with potential challenges and considerations:
- Technical Expertise: Basic knowledge of electronics, plumbing, and mechanical assembly is essential for building a misting fan.
- Cost and Complexity: DIY misting fans may require significant time, effort, and expense to build, especially for those unfamiliar with the process.
- Safety Risks: Improper installation or operation of misting fans can pose safety hazards, such as electrical shock or water damage. Follow all safety guidelines and consult with professionals if needed.
- Maintenance: DIY misting fans may require regular maintenance, such as cleaning and replacing components, to ensure optimal performance and longevity.
Conclusion:
While it’s possible to build a DIY misting fan with the right materials and know-how, it’s essential to approach the project with caution and attention to detail. By understanding the basic principles of misting fan operation and following proper construction and safety guidelines, you can create a custom cooling solution for outdoor spaces.